How to iron Perler beads: temperature and time
3 min read
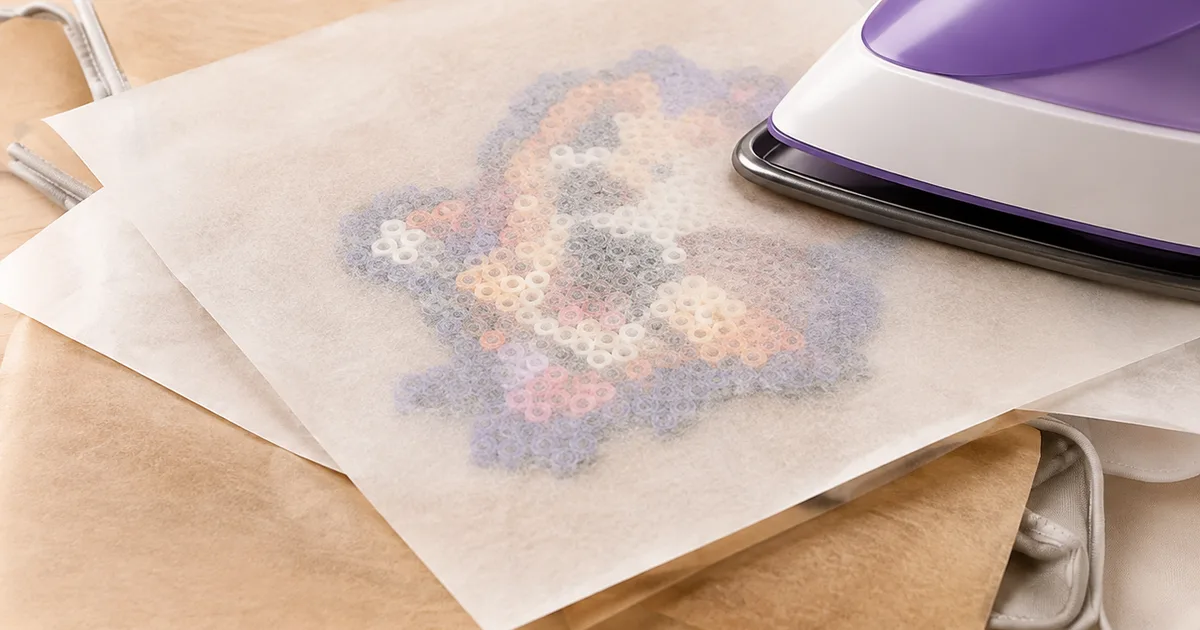
How to melt Perler beads without ruining them: iron temperature, how long to press, parchment paper, one side or two, and cooling flat.
Ironing is the step that decides whether hours of bead placing become a keychain or a warped disc. It takes twenty seconds and there is no undo, so it is worth knowing exactly what is meant to happen: the tops of the beads soften and weld to their neighbours while the holes stay open. Anything beyond that is over-fused.
Set up before you heat anything
Work on a hard, heat-safe surface — a kitchen worktop, not an ironing board, whose padding lets the board flex and tips beads over. Set the iron to medium, roughly 150 °C, and turn the steam off completely. Steam blows water onto the plastic and leaves cloudy marks.
Cover the finished pegboard with a sheet of parchment paper, larger than the design, and let it lie flat rather than pressing it down. That sheet is not optional: it spreads the heat, keeps molten plastic off the soleplate and lets you see the beads through it as they change.
Iron it
Rest the iron on the paper and move it in small circles, keeping it flat and keeping it moving. After about ten seconds the beads under the paper start to look glossy and their outlines soften. Lift the paper and check. You are looking for beads that are joined at the edges with the holes still open — a honeycomb, not a sheet.
If a corner is still loose, put the paper back and give it another five seconds over that area only. Fusing a bit more is easy; unfusing is impossible.
One side or both
For a keychain or anything that will be handled, fuse both sides. Iron the first side, let the piece cool for a minute, peel it off the board, turn it over and iron the back for slightly less time — the plastic is already warm and moves faster.
For pictures that will be framed or magnets that only face one way, one side is enough and looks better: the unfused back keeps the crisp bead texture, and the piece stays thicker.
Let it cool flat
This is where most warping happens. Polyethylene keeps shrinking for a few minutes after the heat leaves, and it shrinks more on the side that was ironed. Put the piece on a flat surface, lay the parchment on top and weigh it down with a heavy book for two or three minutes. Large pieces that span several 29×29 boards need this even more than small ones.
Four mistakes worth avoiding
Too hot is the first: cotton settings melt beads flat in seconds. Too long is the second, and looks the same. Carrying a full pegboard across the room is the third — iron each board where you built it, and for a multi-board picture fuse each board as soon as it is complete. The fourth is ironing straight onto the beads with no paper, which welds plastic to your iron.
If a piece does come out curled, a quick re-iron on the concave side and a cool-down under weight usually saves it.
Ready for the next project? The free bead pattern gallery prints charts with their bead counts, and the photo-to-pattern converter turns your own picture into one. If you would rather draw it yourself, the bead pattern editor works in the browser.