How to turn a photo into a bead pattern
3 min read
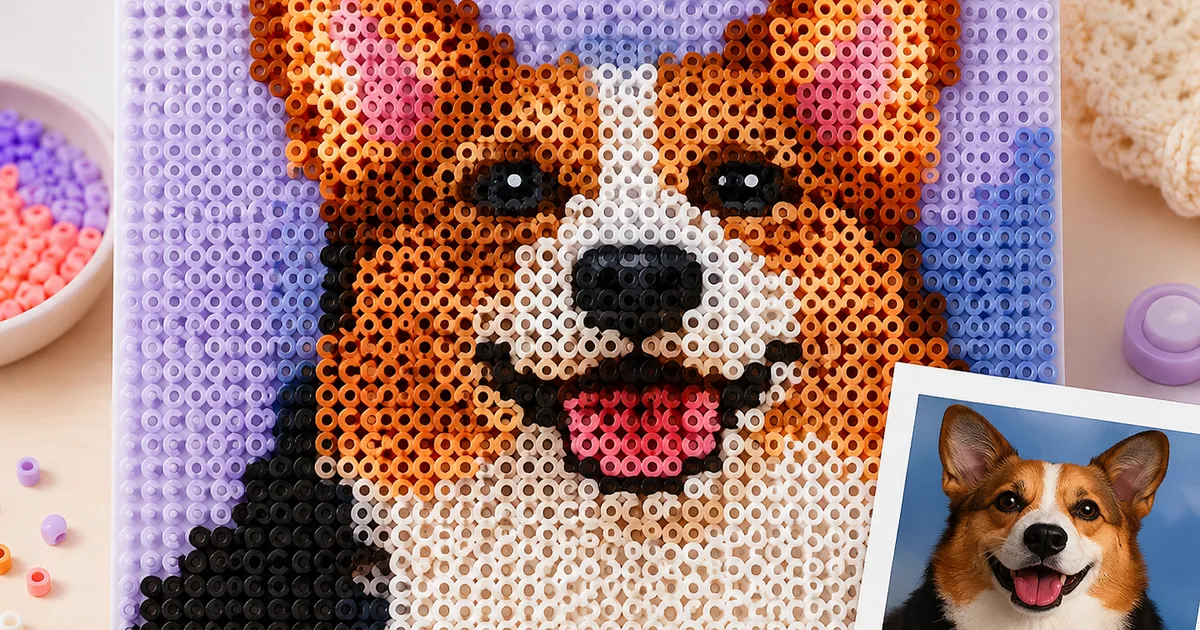
Turn any photo into a Perler or Hama bead pattern: choosing a size in beads, how many colours to keep, when dithering helps, and how to drop the background.
A bead pattern is pixel art with a shopping list. Turning a photo into one means throwing away almost all of it — a 12-megapixel picture becomes 841 beads on a single pegboard — so the job is deciding what survives. Here is how to make those decisions, and what each control in the converter actually does.
Pick a size in beads first
Everything else follows from this number. One 29×29 pegboard is the default and is right for icons, logos, hearts, game sprites and pets photographed close up. A human face needs roughly 50 beads across before the eyes stop being two dark smudges, which means a 2×2 grid of boards. A landscape or a full-body photo needs 80 or more, and at that point you are buying beads by the thousand.
Crop before you convert. A tight crop at 29 beads beats a wide one at 58, because the beads land where the subject is instead of on empty background.
Choose the colour count
The converter reduces your image to a fixed number of bead colours, chosen from a real brand palette — Hama, Perler, Artkal, Nabbi or Pyssla — so the output is buyable rather than theoretical. Eight to twelve colours give a clean, poster-like result. Sixteen to twenty keep photographic shading. Past thirty you are mostly adding colours you own a handful of.
Bump brightness and contrast up slightly before reducing colours. Bead palettes are saturated and a flat photo turns to mud once it has only twelve shades to work with.
Dithering: when it helps
Dithering scatters two bead colours in a checker so that, from a metre away, your eye mixes them into a third. That is how a twelve-colour palette can render a sunset. Use it on photos with gradients — sky, water, skin — and turn it off for line art, logos and anything with large flat areas, where it just adds speckle you then have to bead one by one.
Deal with the background
Most photos have a background you do not want to bead: it costs hundreds of beads and it hides the subject. Use the background remover to pick the colour behind your subject, raise the tolerance until the whole ground disappears, and choose whether to remove only the region touching the edges or that colour everywhere in the image. What is left is a shaped piece, which is what a keychain wants to be anyway.
From chart to beads
Once the preview looks right, export the PDF: it prints one 29×29 board per page with the colour codes and a bead list, so you can count out beads before you start. The image-to-bead-pattern converter does all of this in the browser, and anything it produces can be opened in the pattern editor to fix a stray bead by hand.
New to fusing? Read the guide to ironing Perler beads before you heat anything, and browse the free pattern gallery for a first project that needs no conversion at all.