Beginner guides
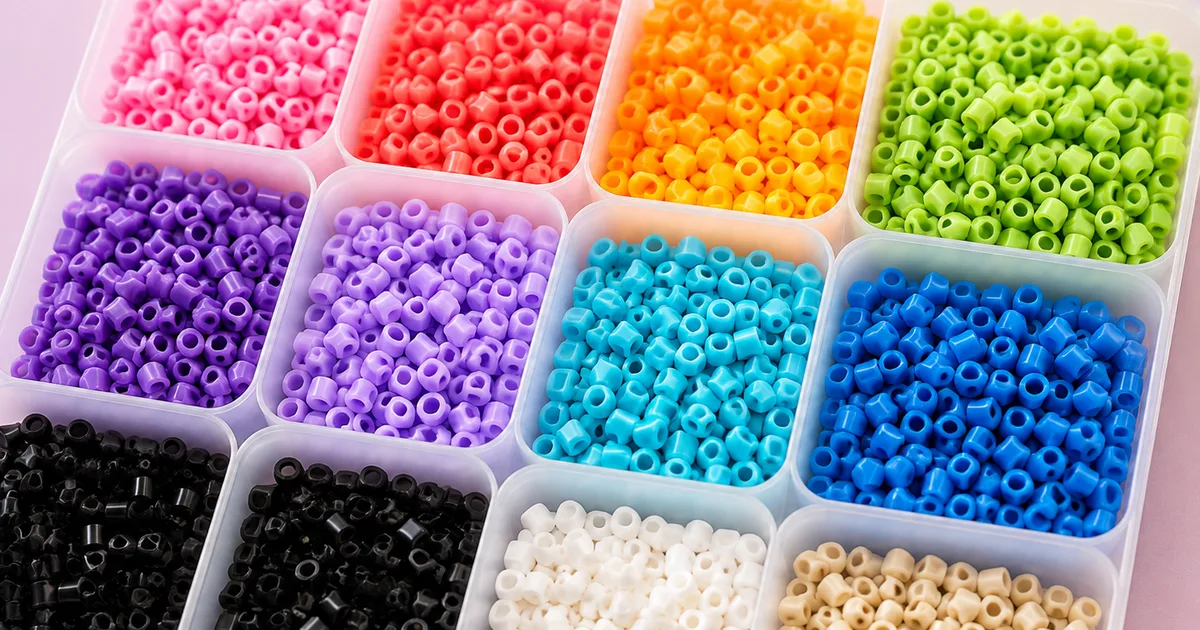
What are Perler beads? Sizes and brands
What Perler beads are, how midi, mini and maxi sizes differ, how Hama, Perler, Artkal, Nabbi and Pyssla compare, and what to buy for a first project.
3 min read
Free guides to bead crafting: how to melt Perler beads, choose pegboards and colours, convert photos and finish keychains that last.
 Beginner guidesNew to fuse beads? Learn the basics.
 Ironing & finishingGet a perfect melt and long-lasting results.
 Patterns & coloursTips for colours, dithering and pattern design.
 Photo to beadsTurn any photo into a bead pattern.
Follow these simple steps to go from idea to finished creation.
What Perler beads are, how midi, mini and maxi sizes differ, how Hama, Perler, Artkal, Nabbi and Pyssla compare, and what to buy for a first project.
3 min read
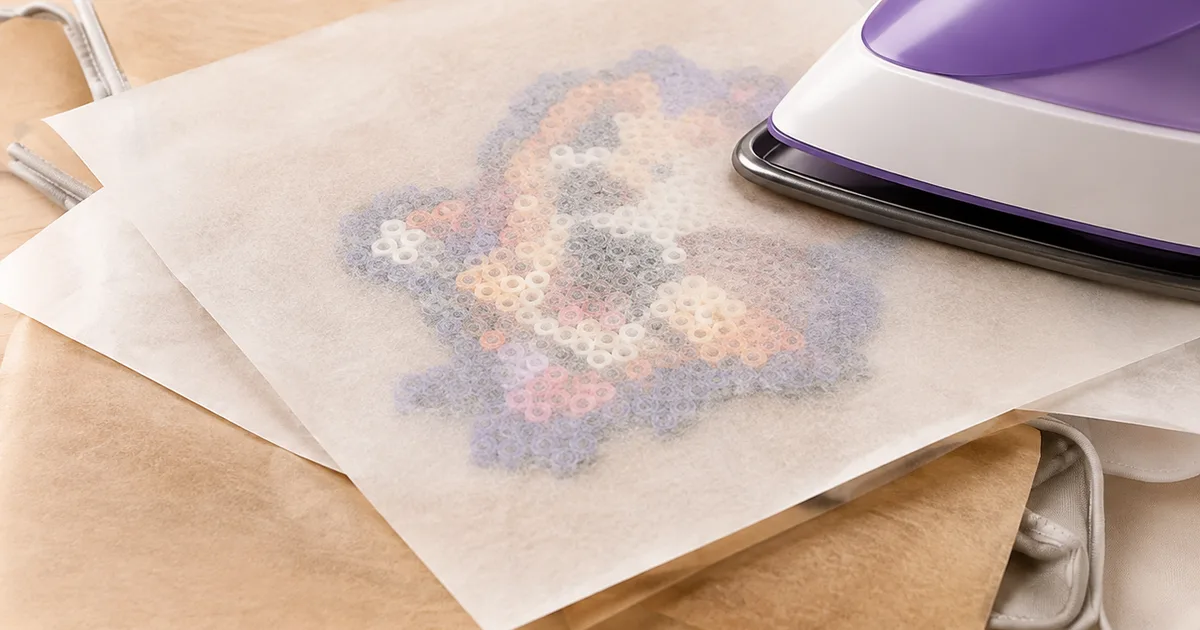
How to melt Perler beads without ruining them: iron temperature, how long to press, parchment paper, one side or two, and cooling flat.
3 min read
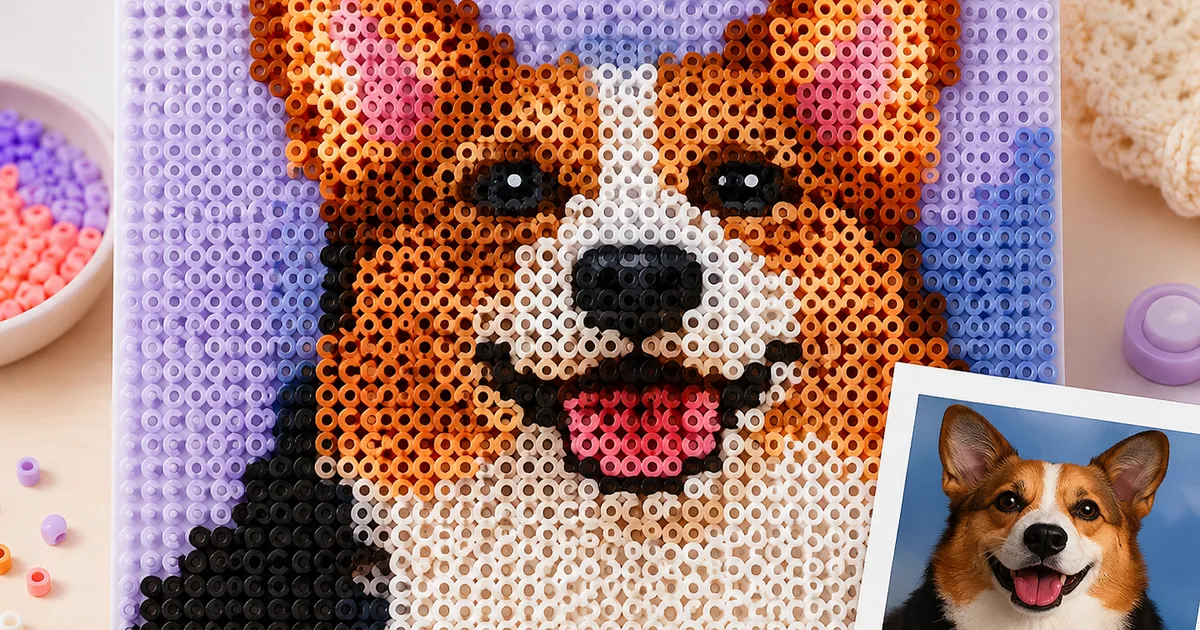
Turn any photo into a Perler or Hama bead pattern: choosing a size in beads, how many colours to keep, when dithering helps, and how to drop the background.
3 min read
Here are quick answers to common ones.
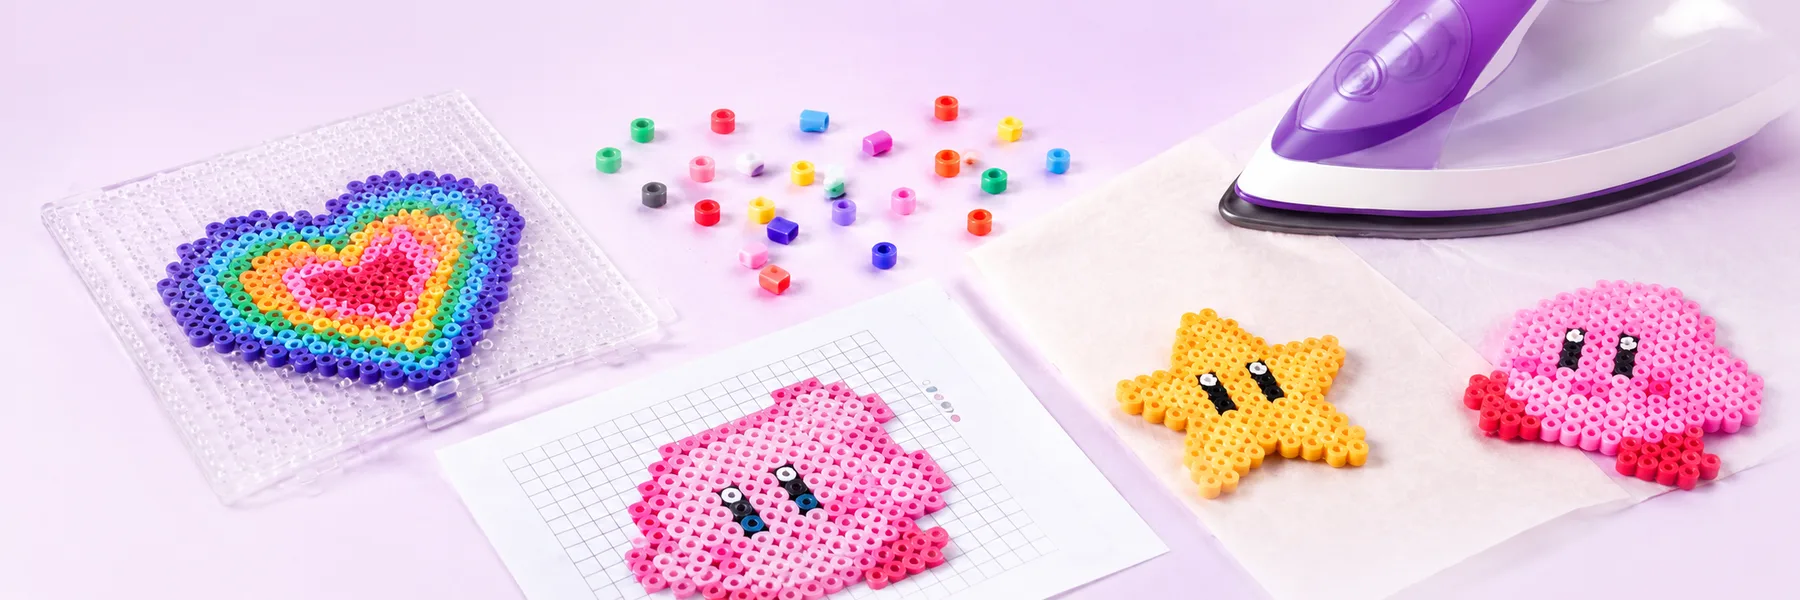
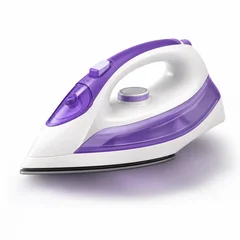
Cover the board with ironing paper, set the iron to medium without steam, and move in slow circles for about ten seconds. Stop while the bead holes are still visible, then cool the piece flat under a book.
A hair straightener works for small pieces and some crafters use a heat press or an oven at low heat on baking paper. Results are less even, so test on a scrap design before risking hours of work.
It cooled unevenly, or only one side was ironed. Press both sides briefly and always let the piece cool flat under a heavy book for a few minutes; plastic keeps shrinking slightly while it drops back to room temperature.
Work on a flat table, avoid knocking the board, and place the background last. For large designs, iron each board as soon as it is complete instead of carrying finished boards around the house.
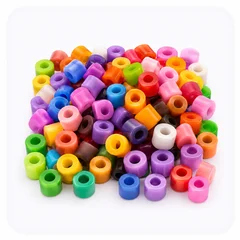
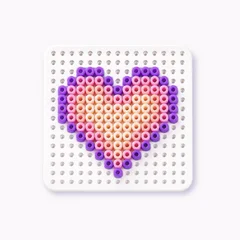
Midi beads at 5 mm are the easiest to handle, and a square 29×29 pegboard with a starter set of ten to fifteen colours is enough for a first project. Save mini beads for when tweezers stop feeling awkward.
Everything that happens around the pattern itself is collected here. The guides cover the practical questions that decide whether a project turns out well: how hot the iron should be, why ironing paper matters, how long to press each board, and how to keep a large picture flat once it has cooled. If you have ever fused one side beautifully and warped the other, the answer is in these pages.
Three guides are online so far. The first explains what fuse beads actually are: the 5 mm midi size against the 2.5 and 2.6 mm minis, what Hama, Perler, Artkal, Nabbi and Pyssla each do differently, and the short shopping list a first project needs. The second is the ironing guide — temperature, seconds per board, parchment paper, one side or two, and how to cool a piece flat so it stays flat. The third turns a photograph into a chart: how wide to make it in beads, how many colours to keep, when dithering helps and how to drop the background. All three are free to read and written for a first attempt.